Plumbing and Electrical... ohhhh boy. I'm just going to dive in because there's a lot to say + a lot of pictures to help describe!
PLUMBING
Here's a list of fixtures we had to run plumbing to:
- Kitchen Sink
- Ice Maker (at Fridge)
- Shower
- Hot Water Heater
- Cold Water Stub Out for Future Flush Toilet
- Vanity Sink
- Washer/Dryer Combo
- Exterior Hose Bibb
1. Subfloor Plumbing - We started running plumbing before we even installed our subfloor sheathing. This allowed us to run the plumbing inside the subfloor to insulate it due to where our house will be placed (very cold climate!). Reference this post for more info on subfloor plumbing!
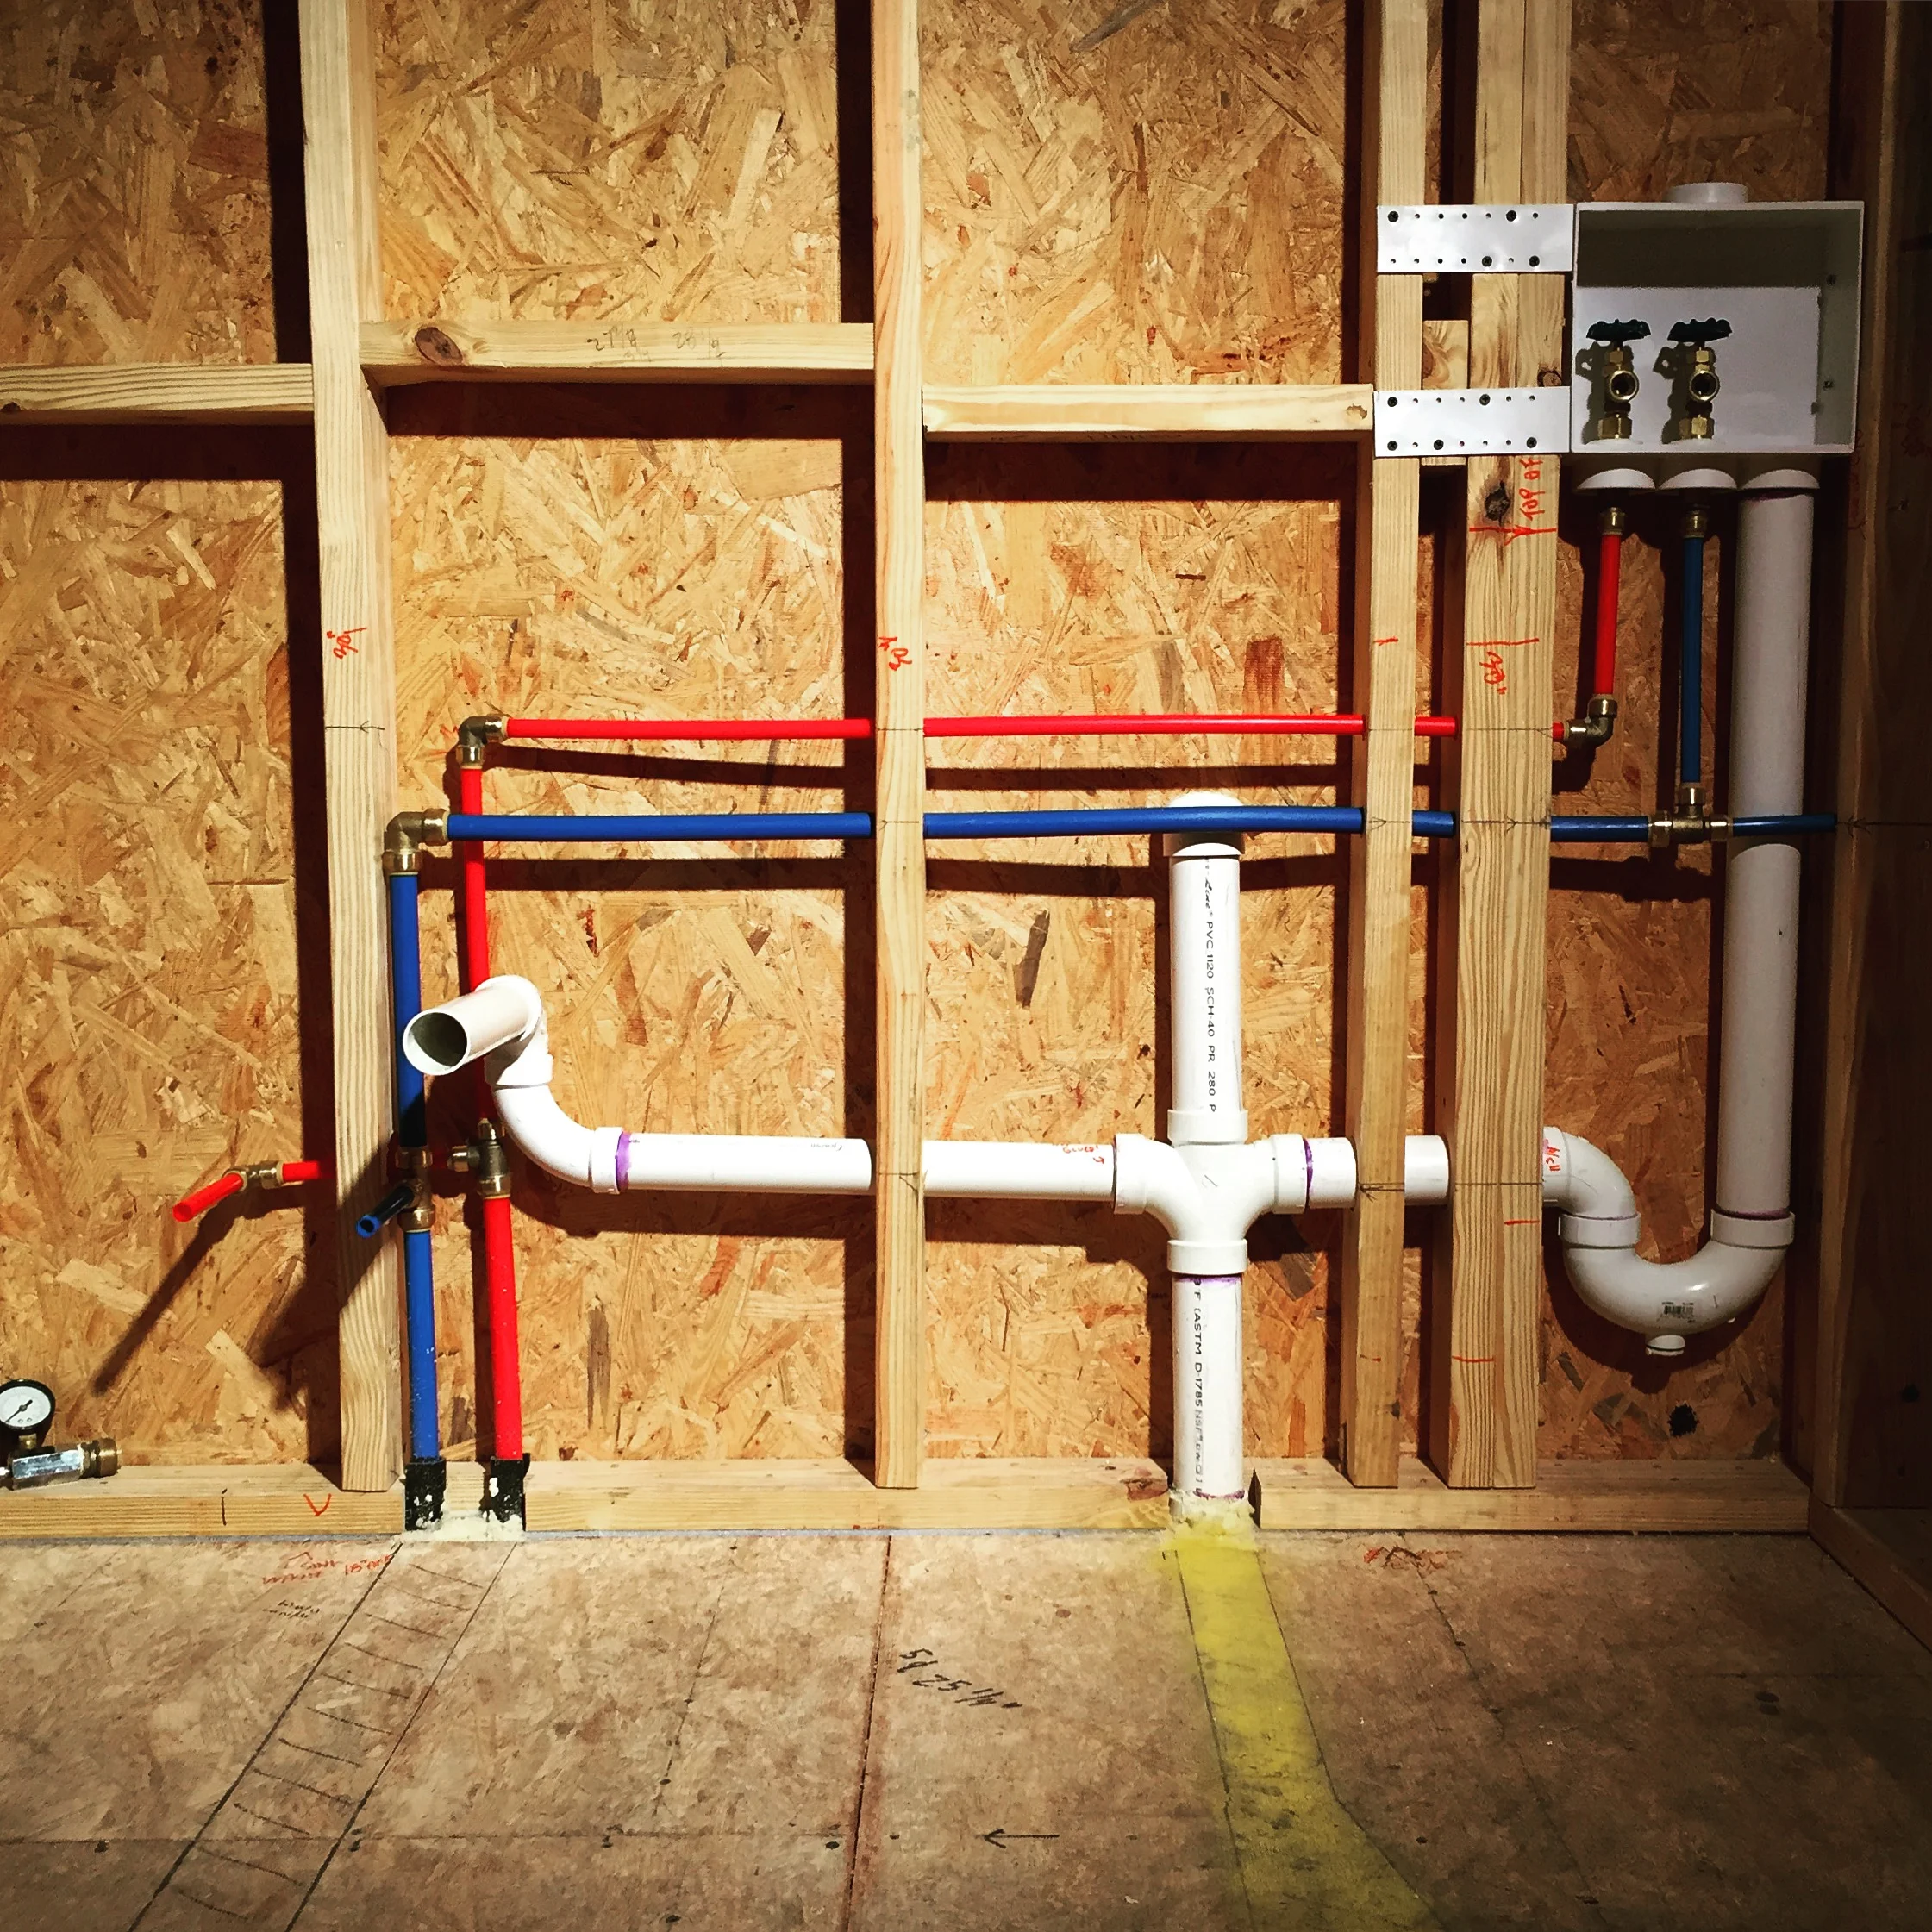
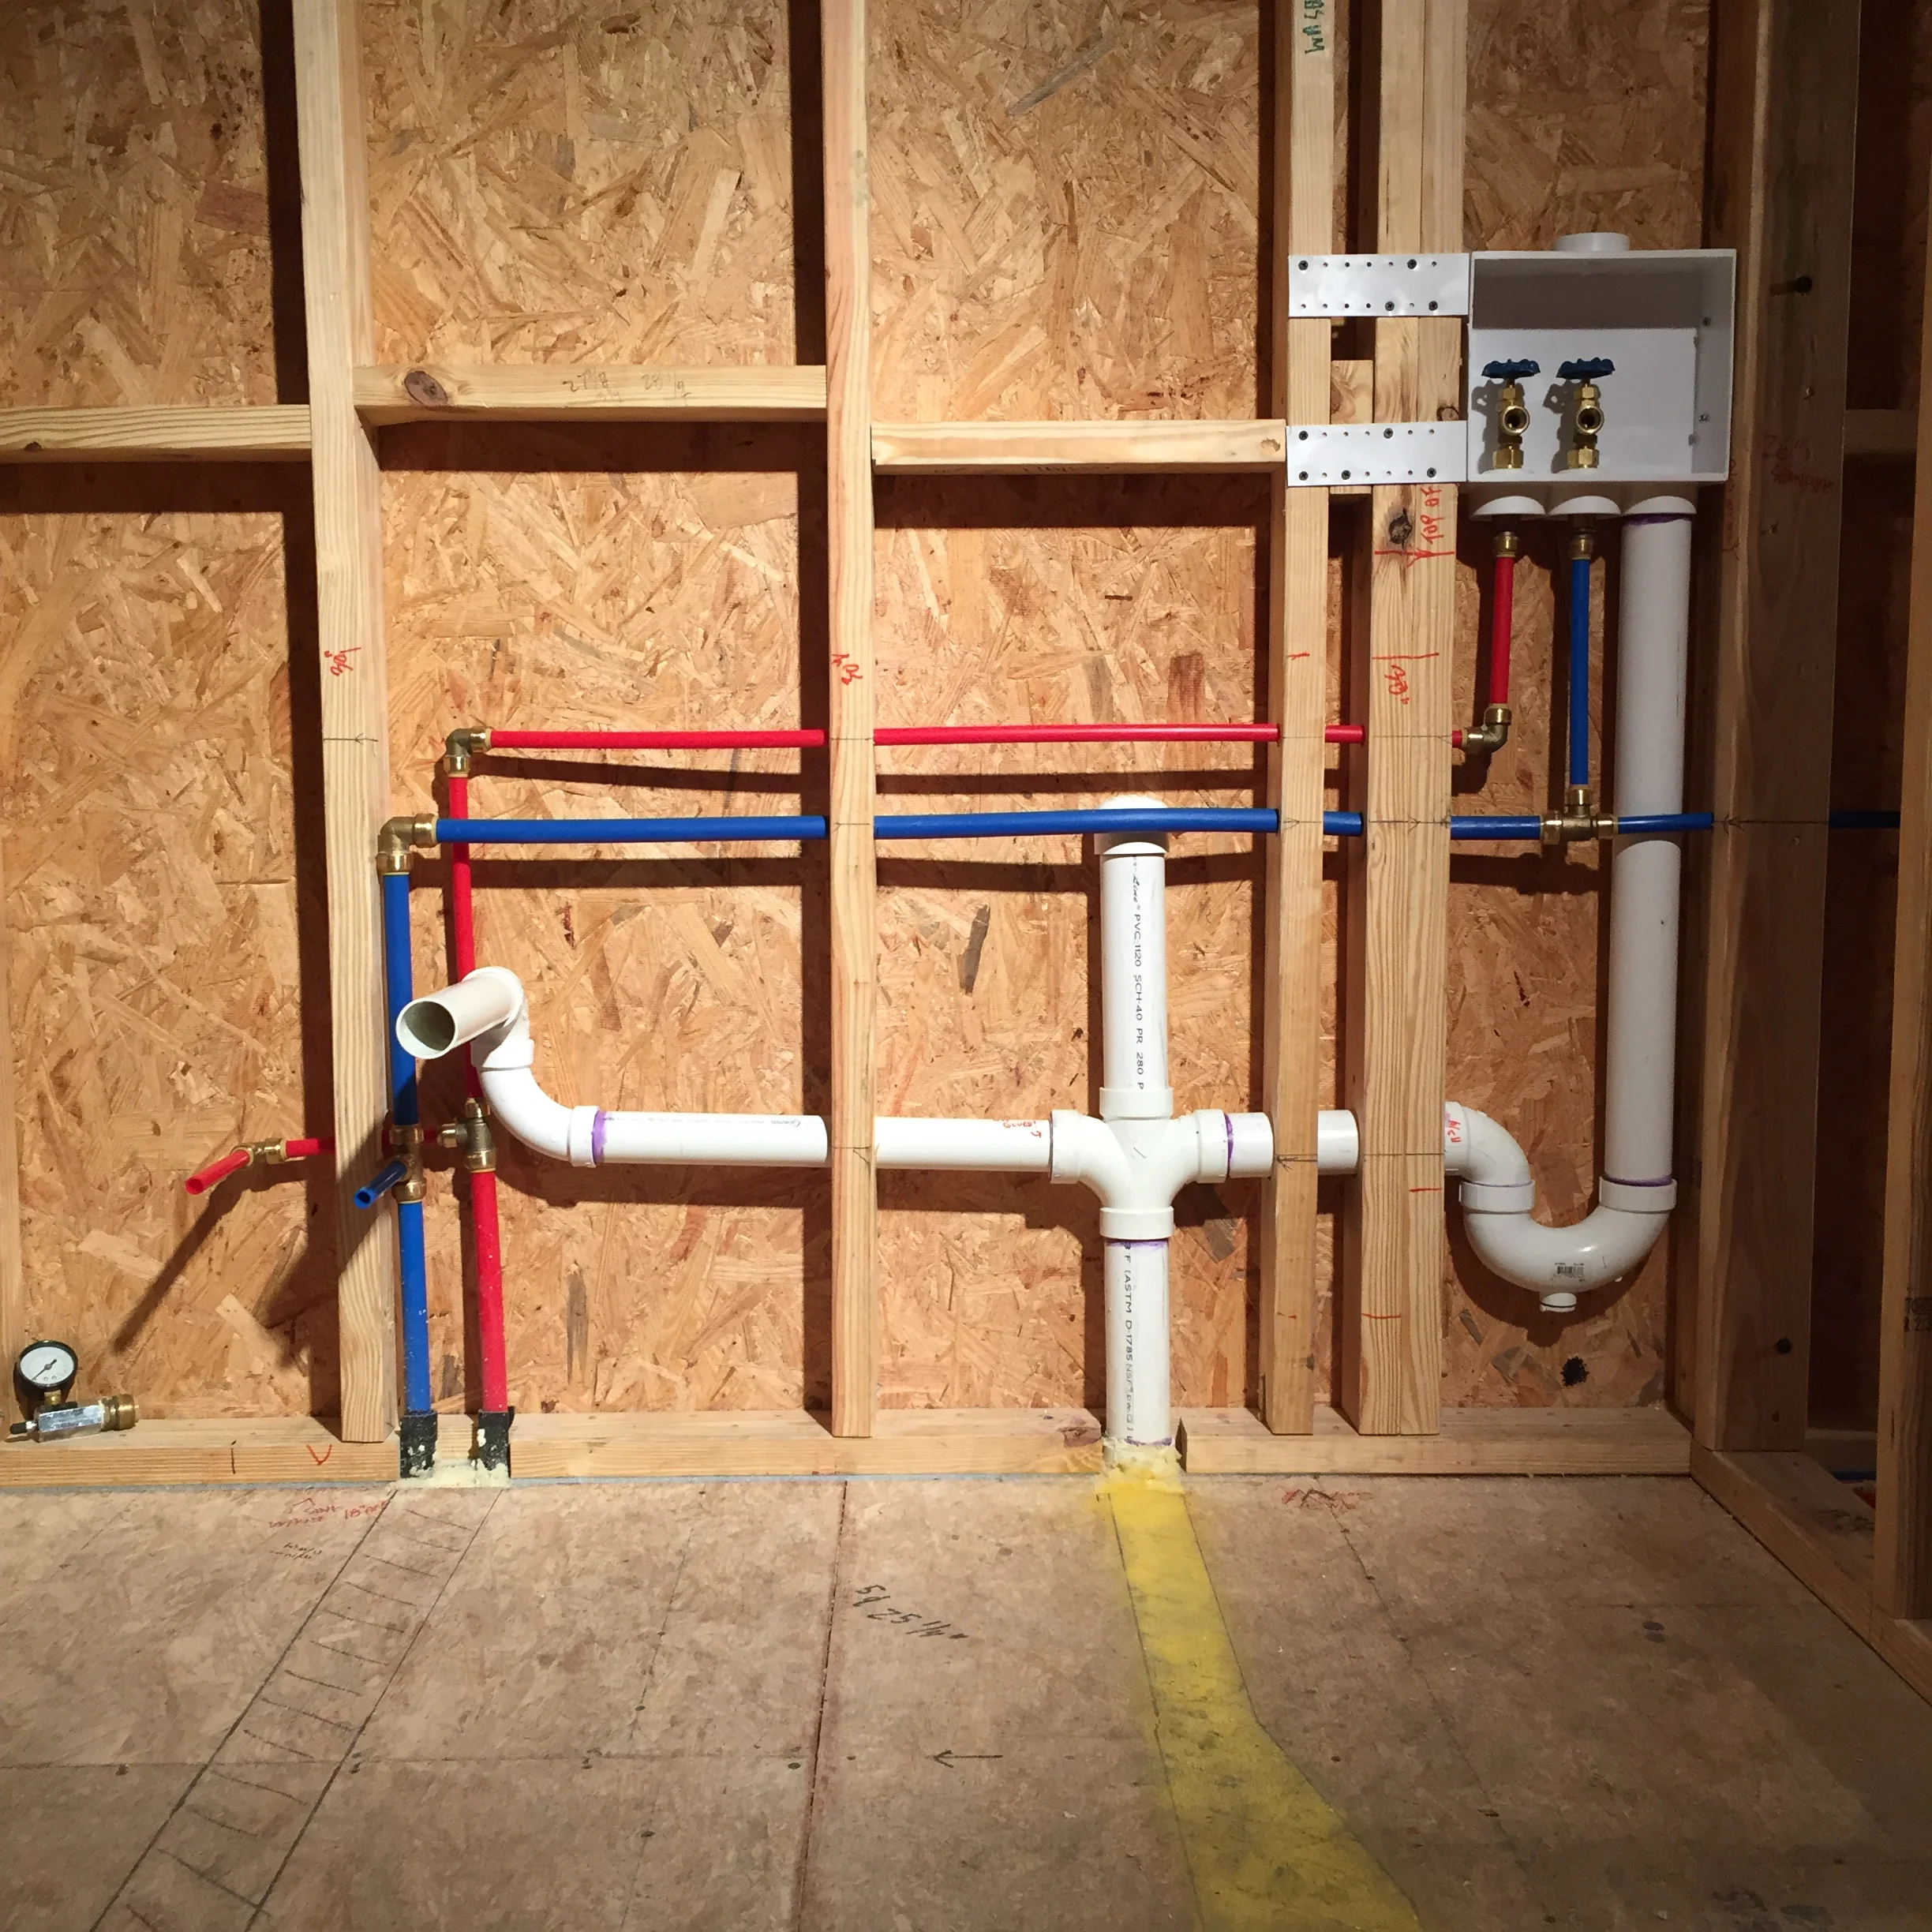
2. In-Wall Plumbing:
Tips/Info:
- We chose to use PEX piping for our Hot & Cold Water Supply Lines.
- We used 2" PVC for our main waste lines.
- You fill up your wall cavities very quickly with plumbing. Trace all of your lines with a sharpie prior to starting install.
- Run all of your waste piping first due to size and slope.
More Info on Hot & Cold Water Supply Lines:
- The reason we went with PEX is because it is pretty simple to connect all of the pieces together and it withstands freezing/thawing better than copper. We used sharkbite fittings which allowed us to simply cut the PEX pipe to the appropriate length and push it into a fitting. Our cold and hot water main lines are 3/4" and the branch lines (that go to the fixtures listed above) are 1/2".
- We drilled holes in all of the studs that the PEX needed to run through. We kept the holes in the middle of the studs. We then put nail plates on the studs for protection so we wouldn't puncture the pipe when installing the interior siding.
- You also need to take into consideration where the service entry for water will be on your home. Ours is located on the back side.
More Info on Waste Piping:
- This was more of a challenge because we used 2" waste piping and it had to obviously be installed at a slope. Not only did it take a lot of space in a 2x4 stud, but also everything had to be sloped 1/8" per foot.
- Right off the bat, we had to use a heat gun to bend some of vertical pipe back into the wall (because when we stubbed them up it was before placing the walls and they were out approx 1/2").
Honestly, the majority of the work was in the subfloor. So, again, check out our previous post that discusses surge tanks, the greywater system as a hole, etc.
Now for....
ELECTRICAL
This was actually going to be the one thing that we were going to sub out because, afterall, electrical is a pretty scary DIY project. After researching electricians in our area, everyone was so booked and prices for a 300sf house were astronomical...so, to YouTube we went!
The steps that we took to start down this scary path:
- The first step was designing the entire electrical system (circuits, outlets, switches, loads, etc.). We came up with a list of all of our appliances.
- We printed off a floor plan and started drawing where we wanted all of the outlets.
- We then decided (based off of the appliances that would be plugged into these outlets) which outlets could be on a circuit with one another.
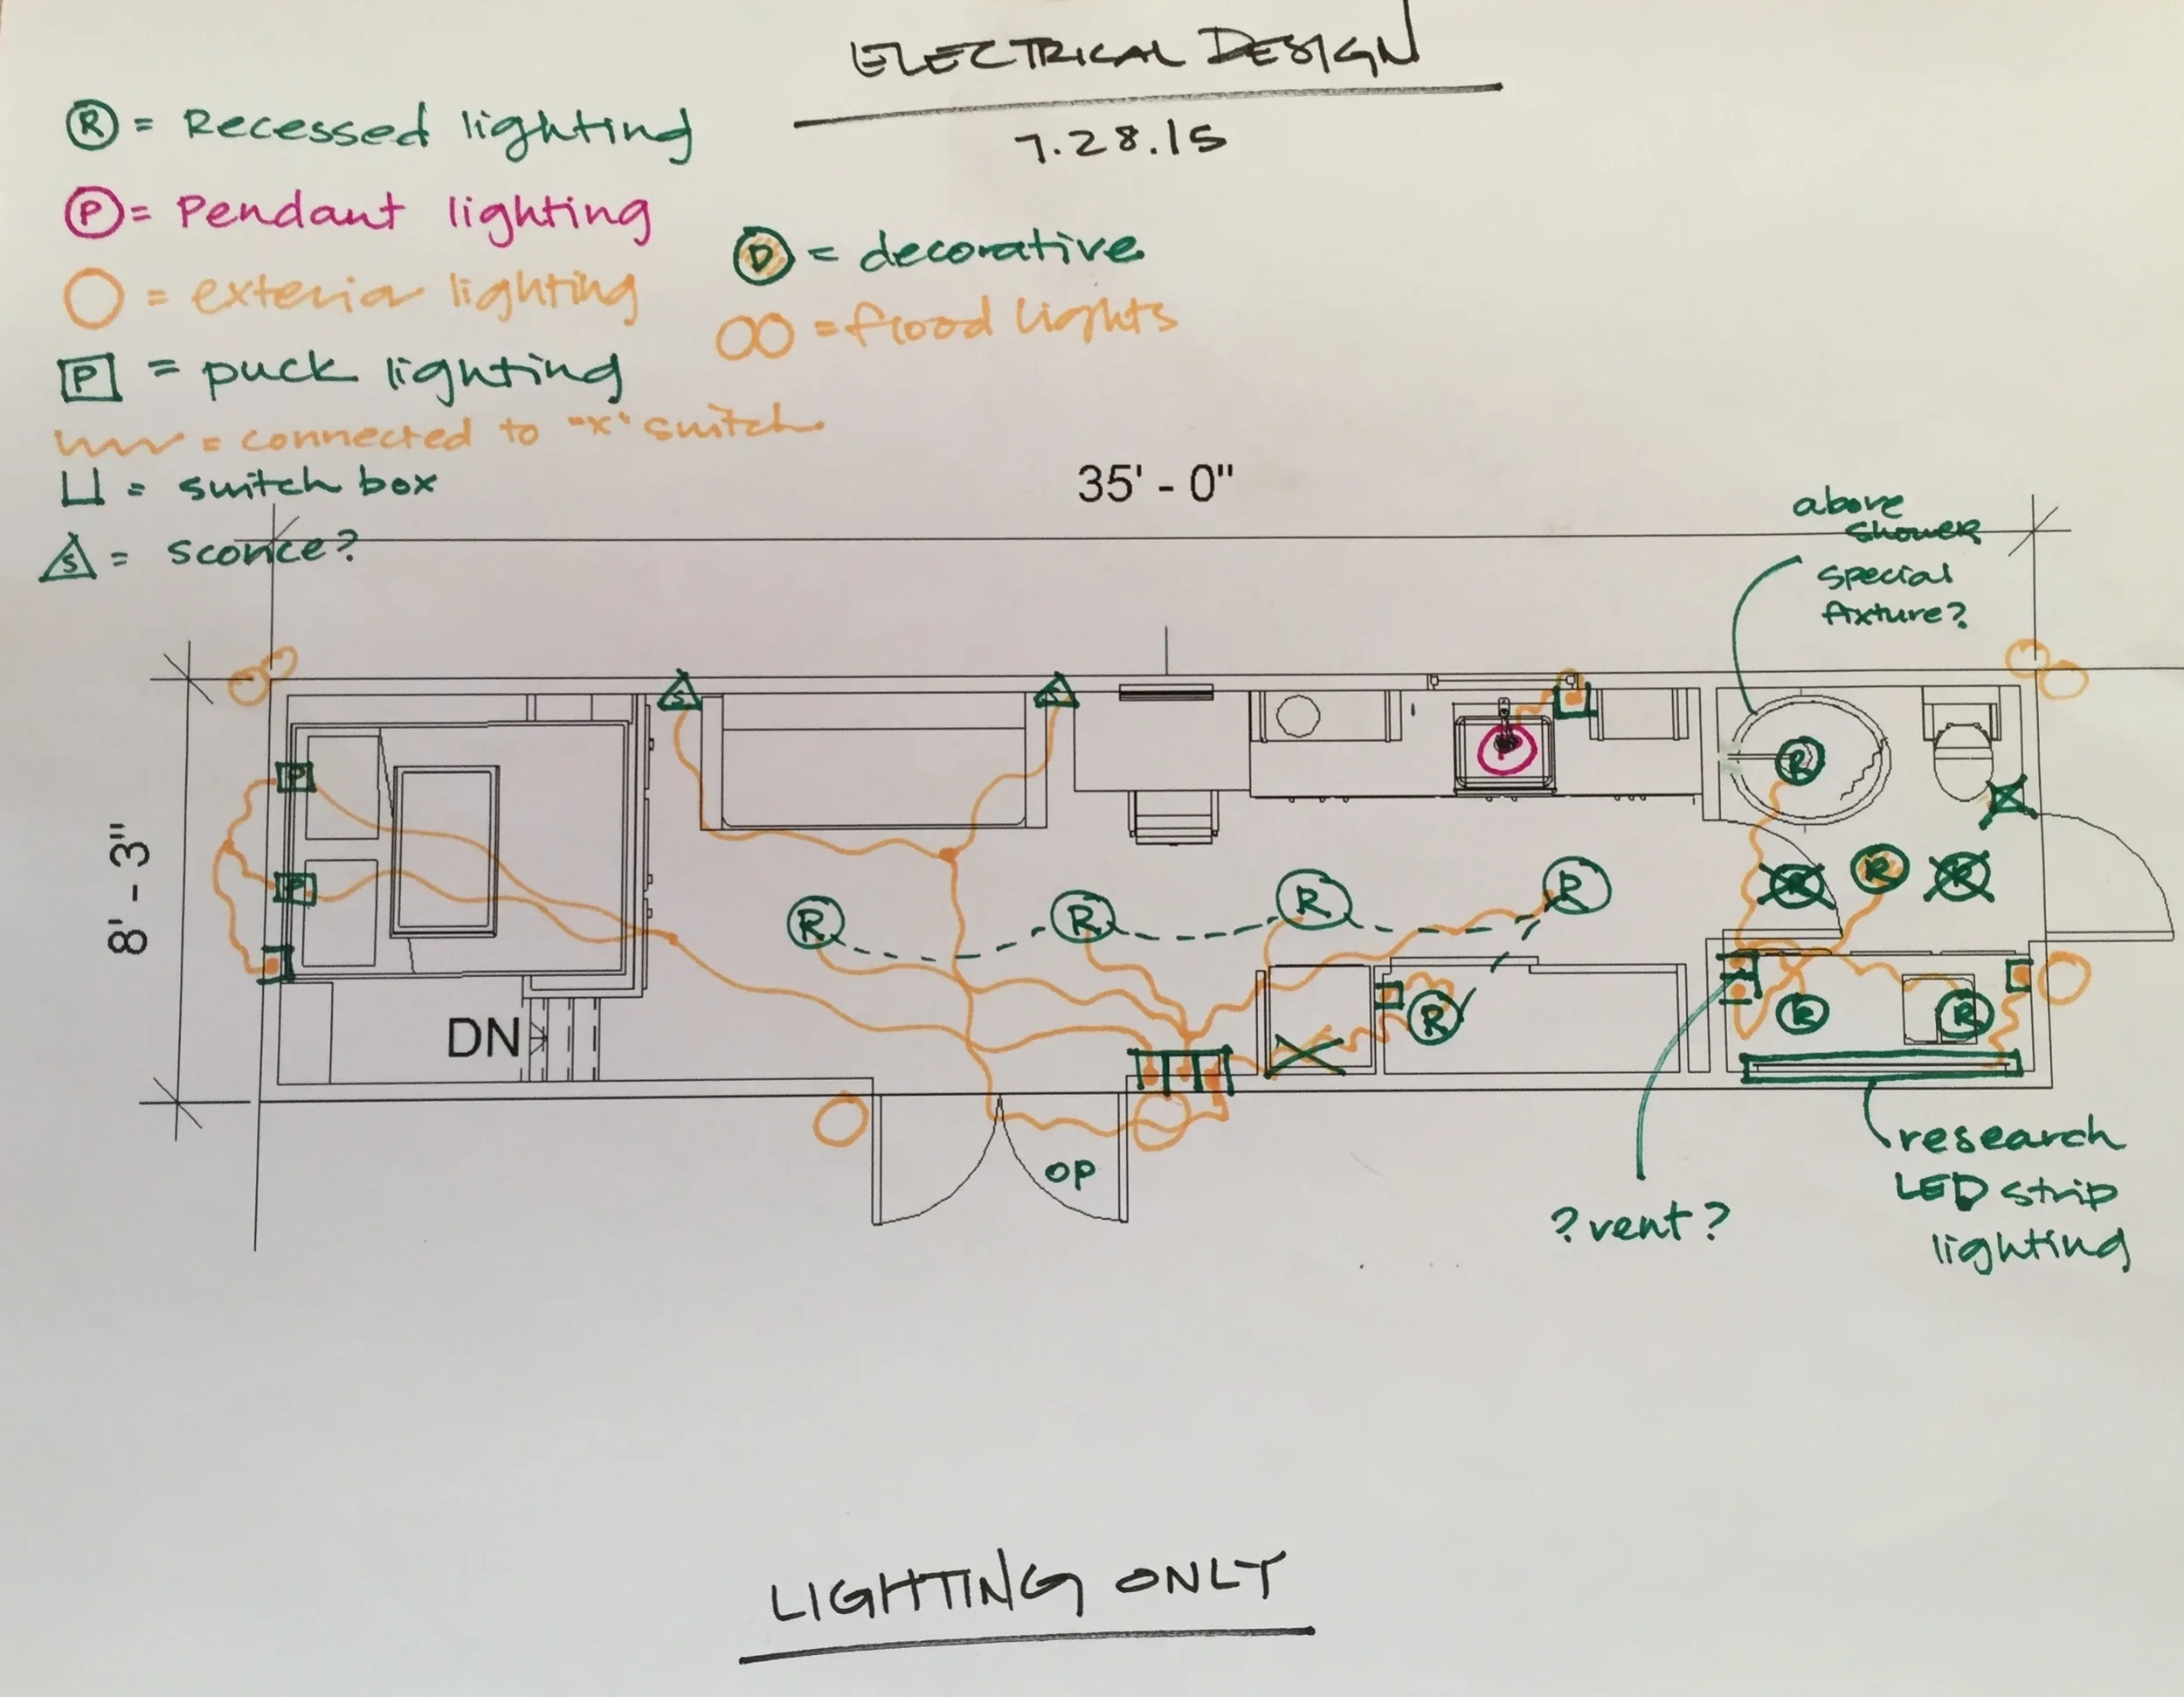
- We printed off a floor plan and started drawing where we wanted the lights and switches.
- Same thing. We then decided (based off of which lights should turn on or off independently/together) which switches were dedicated to which lights.
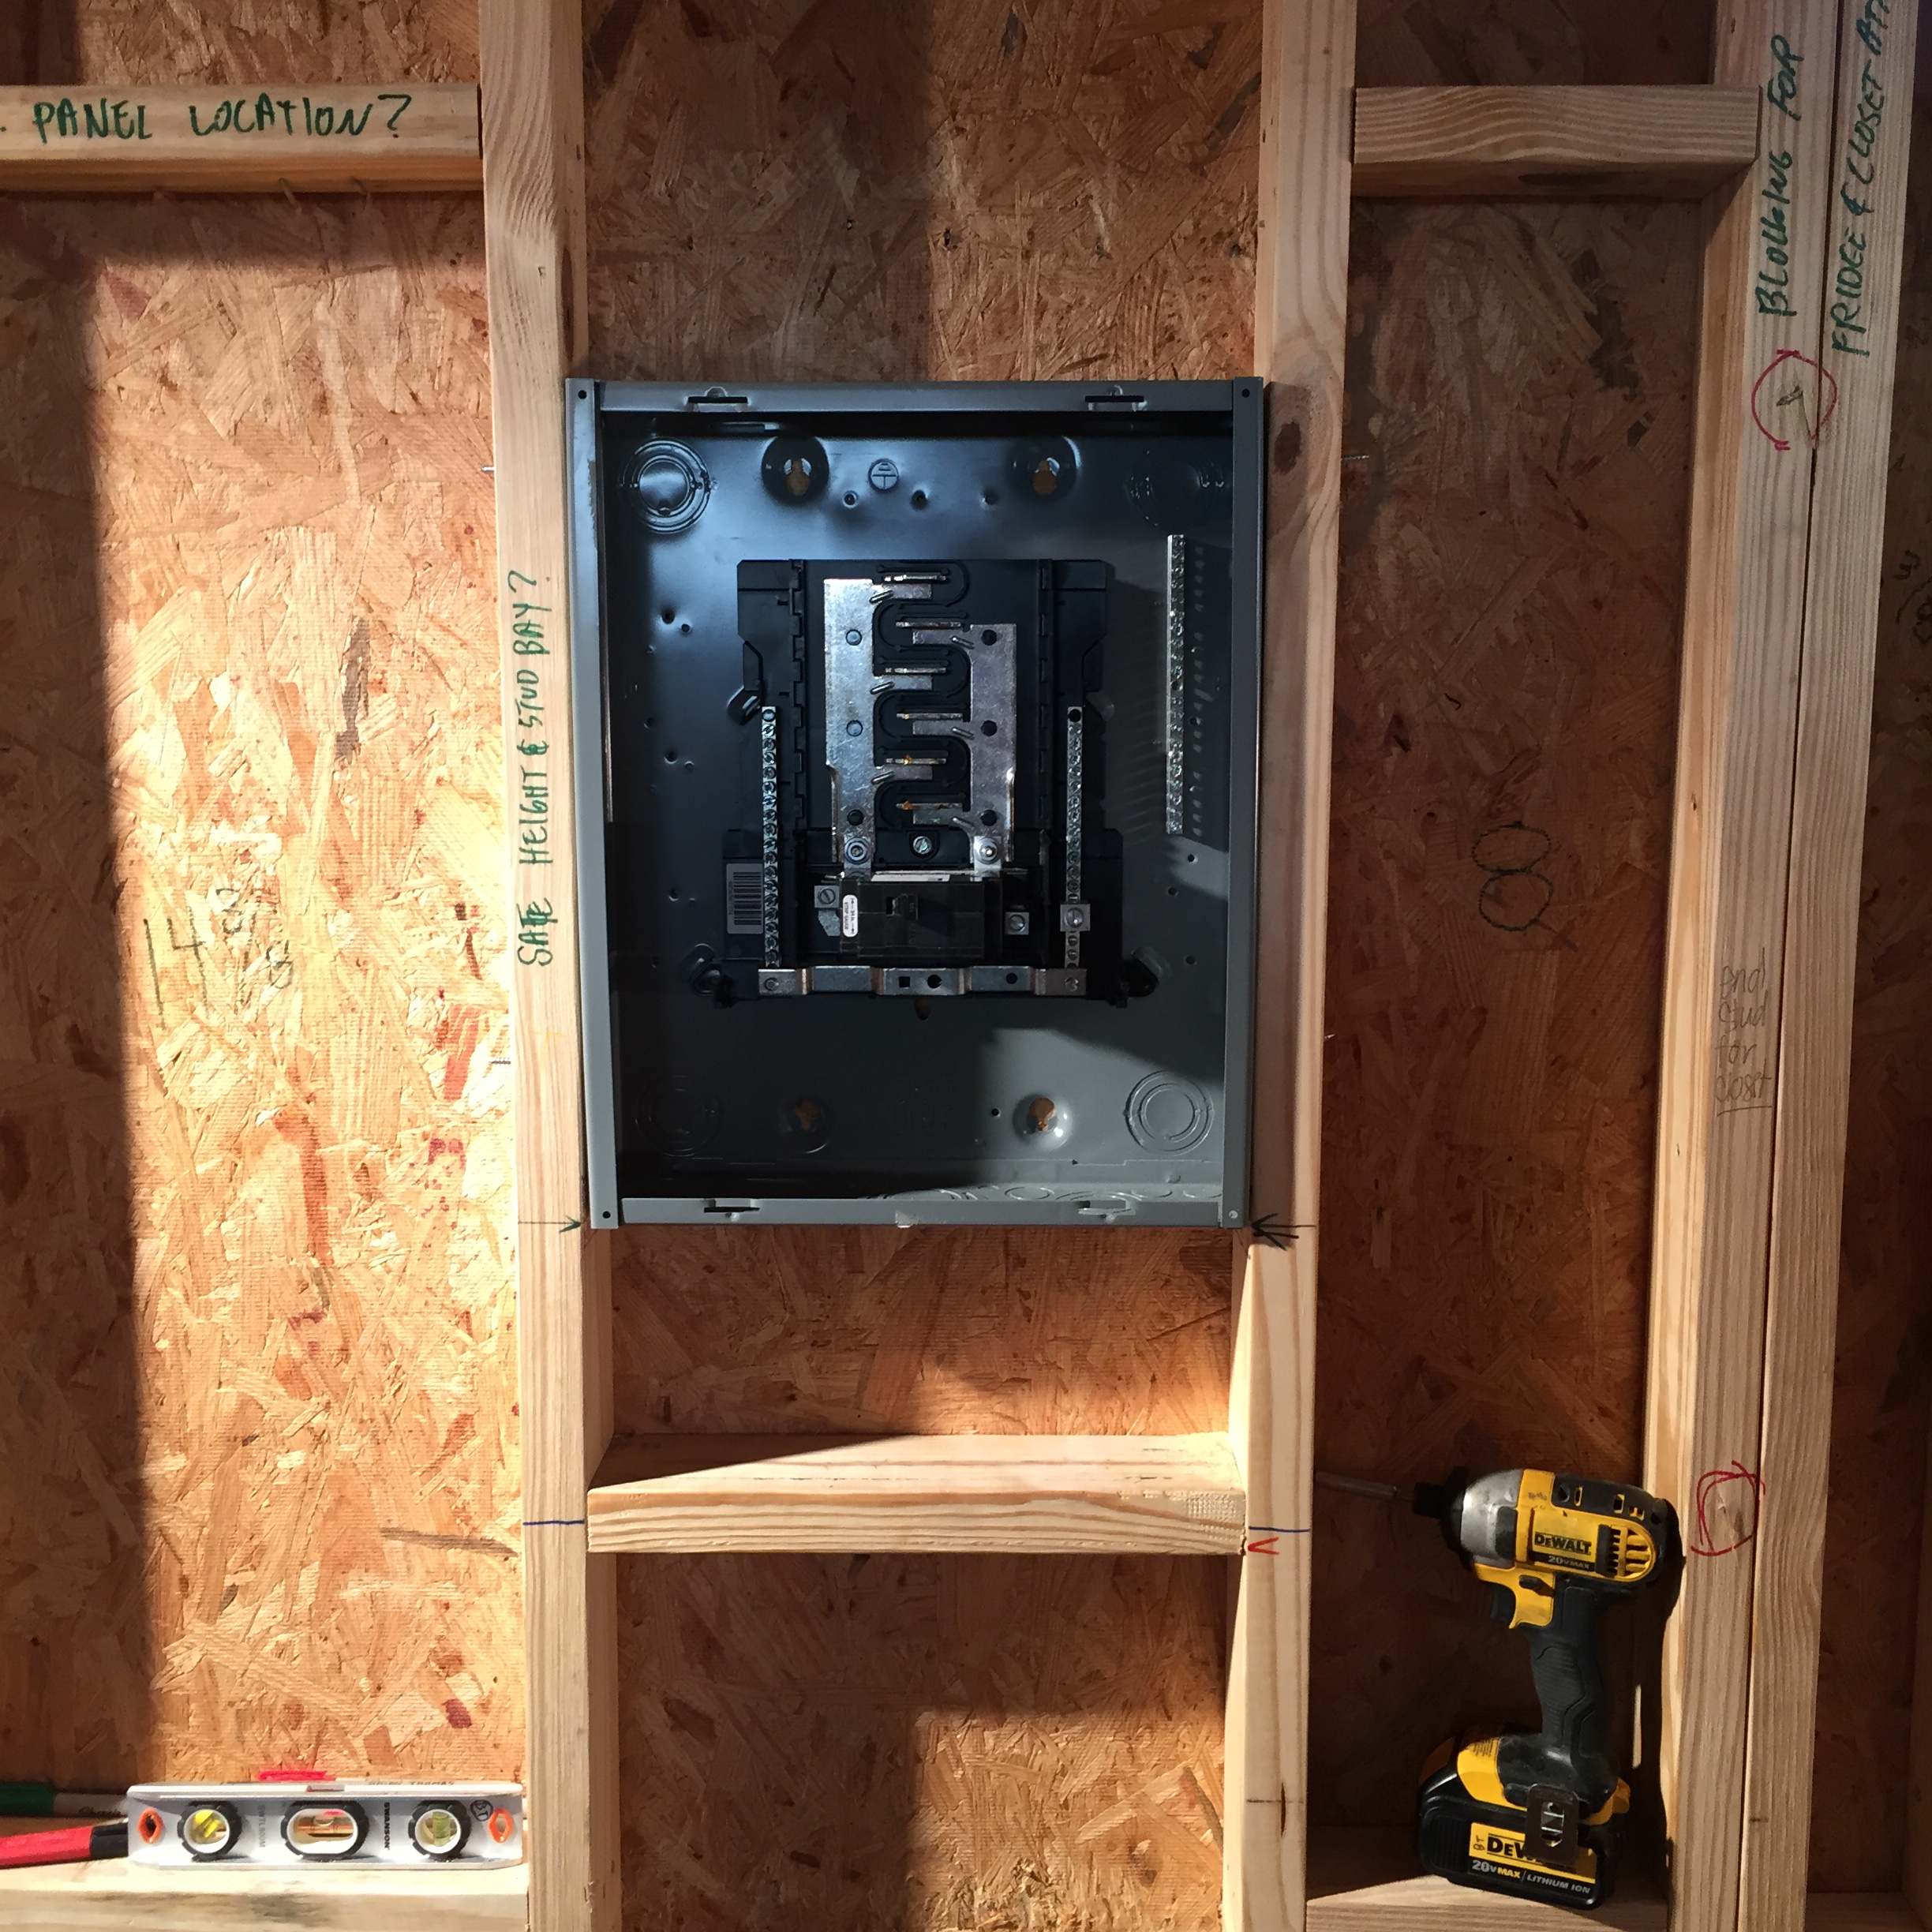
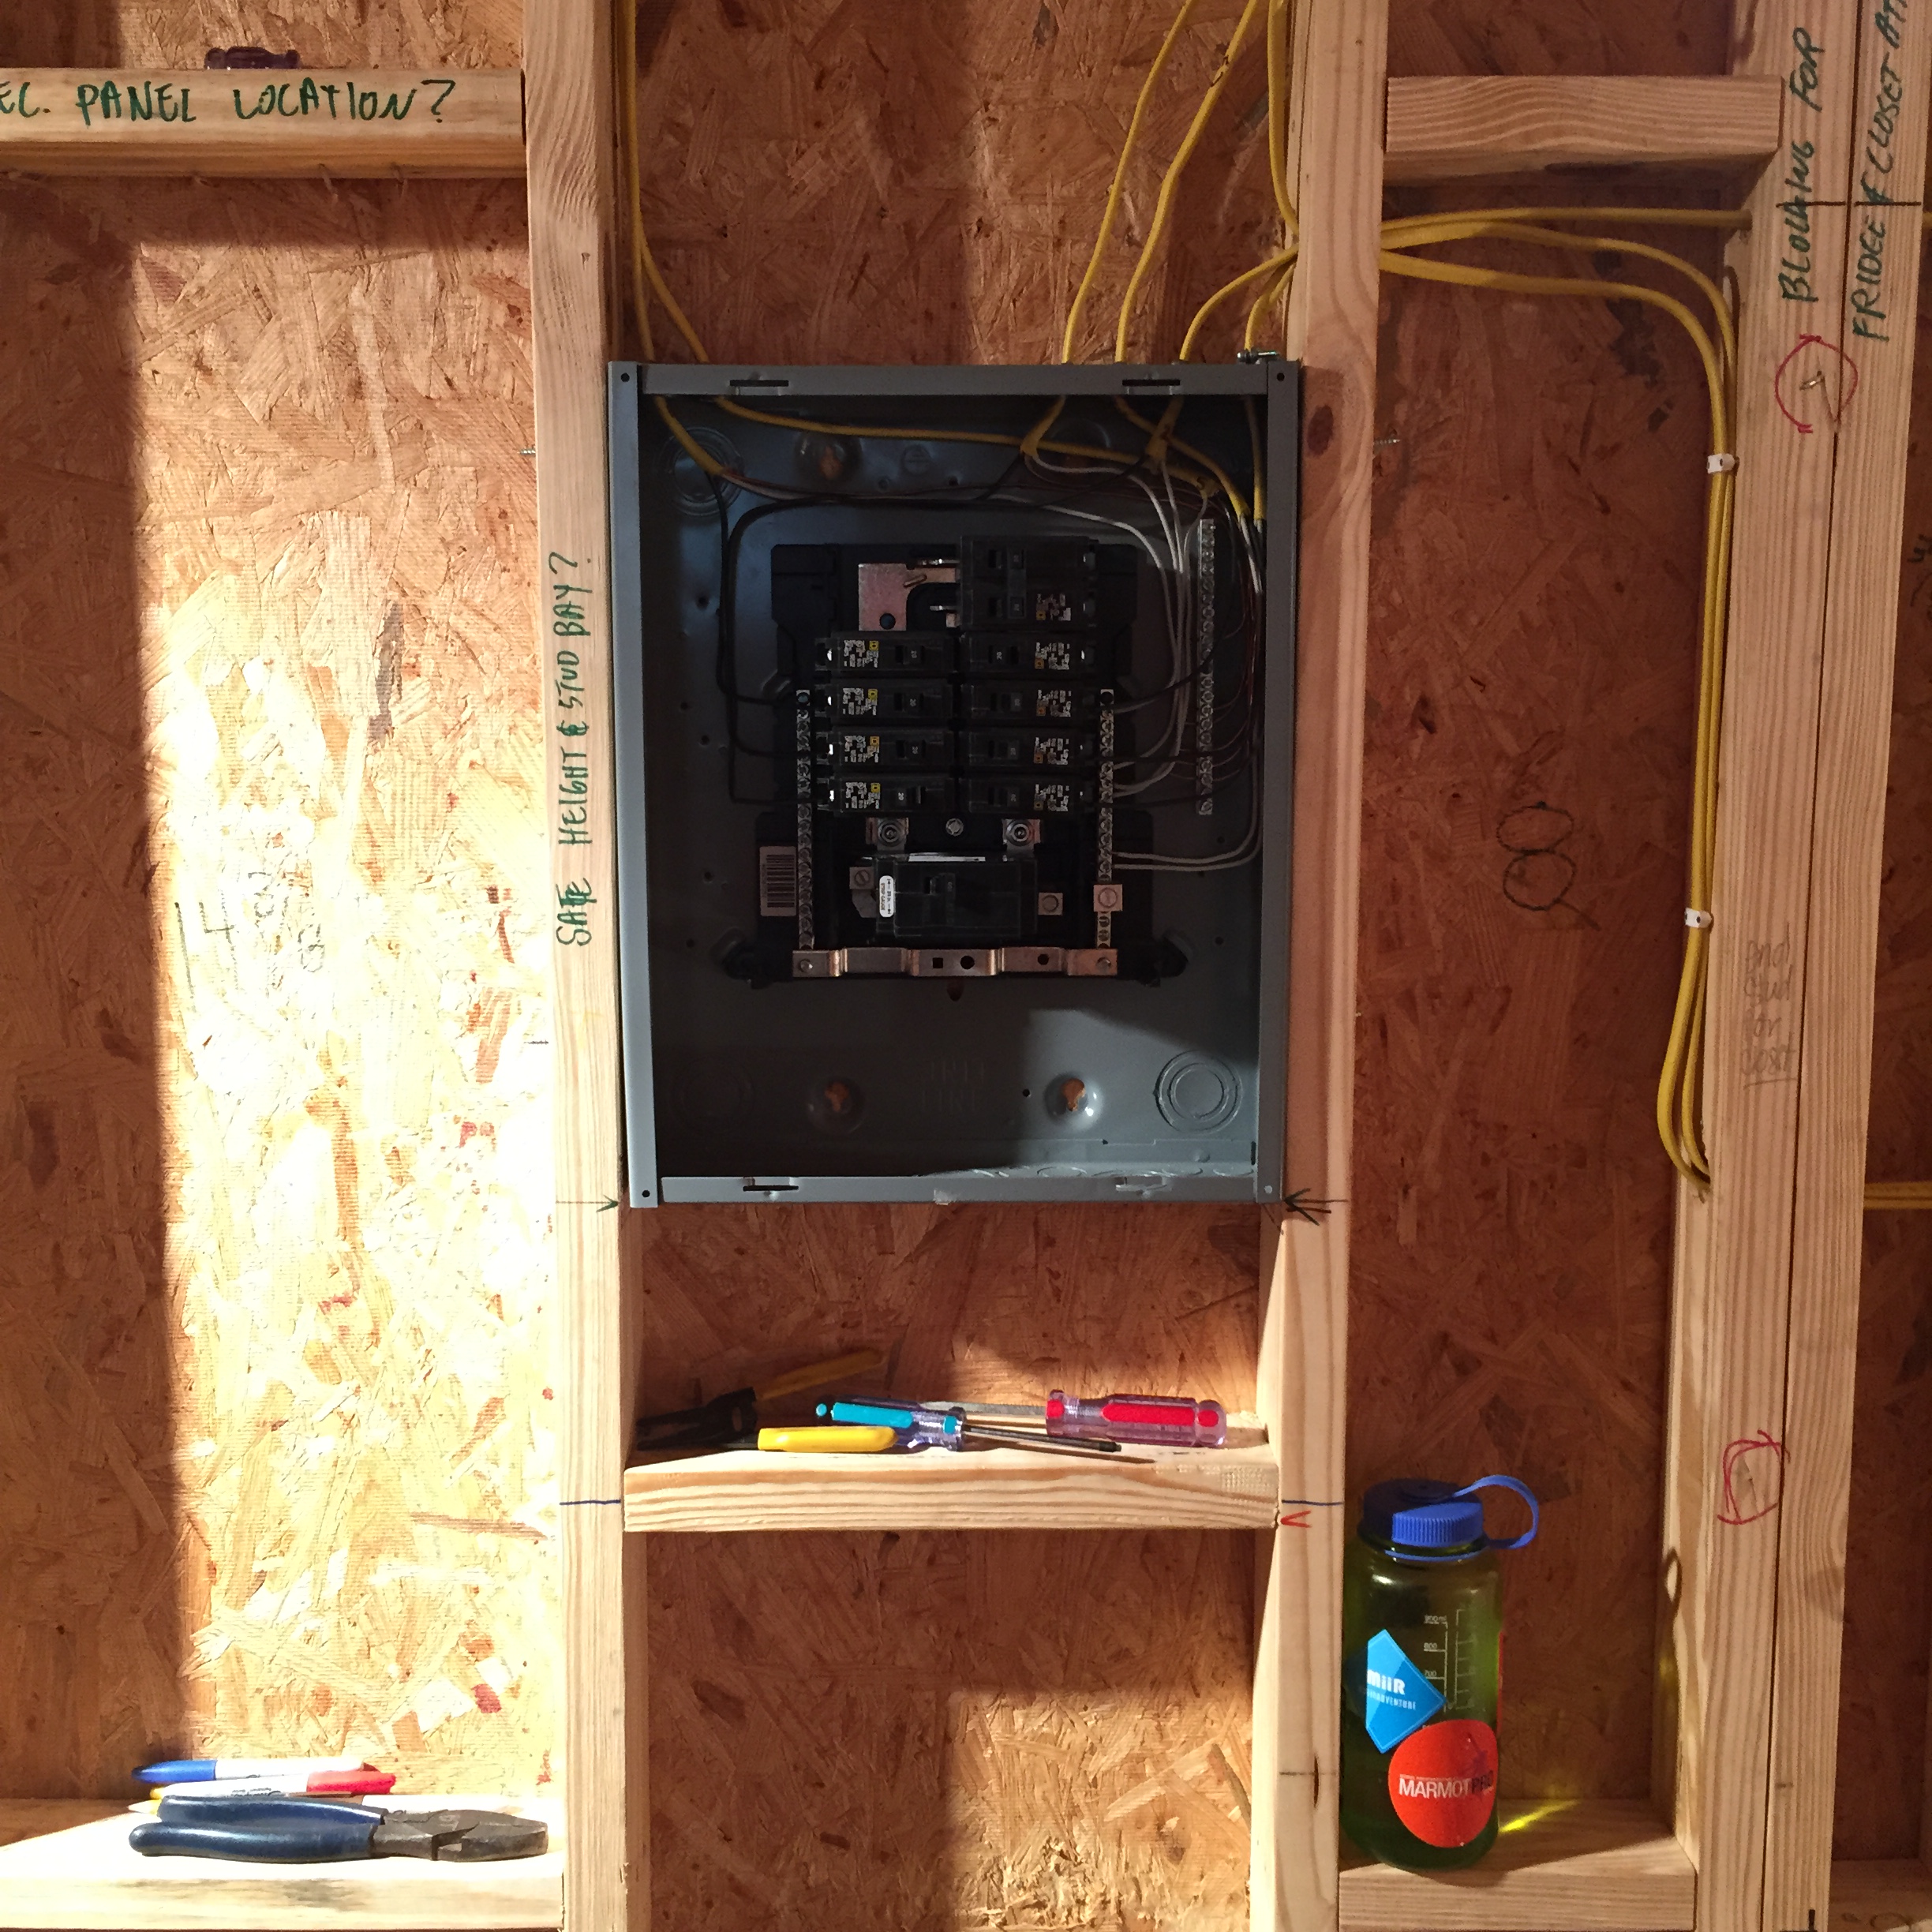
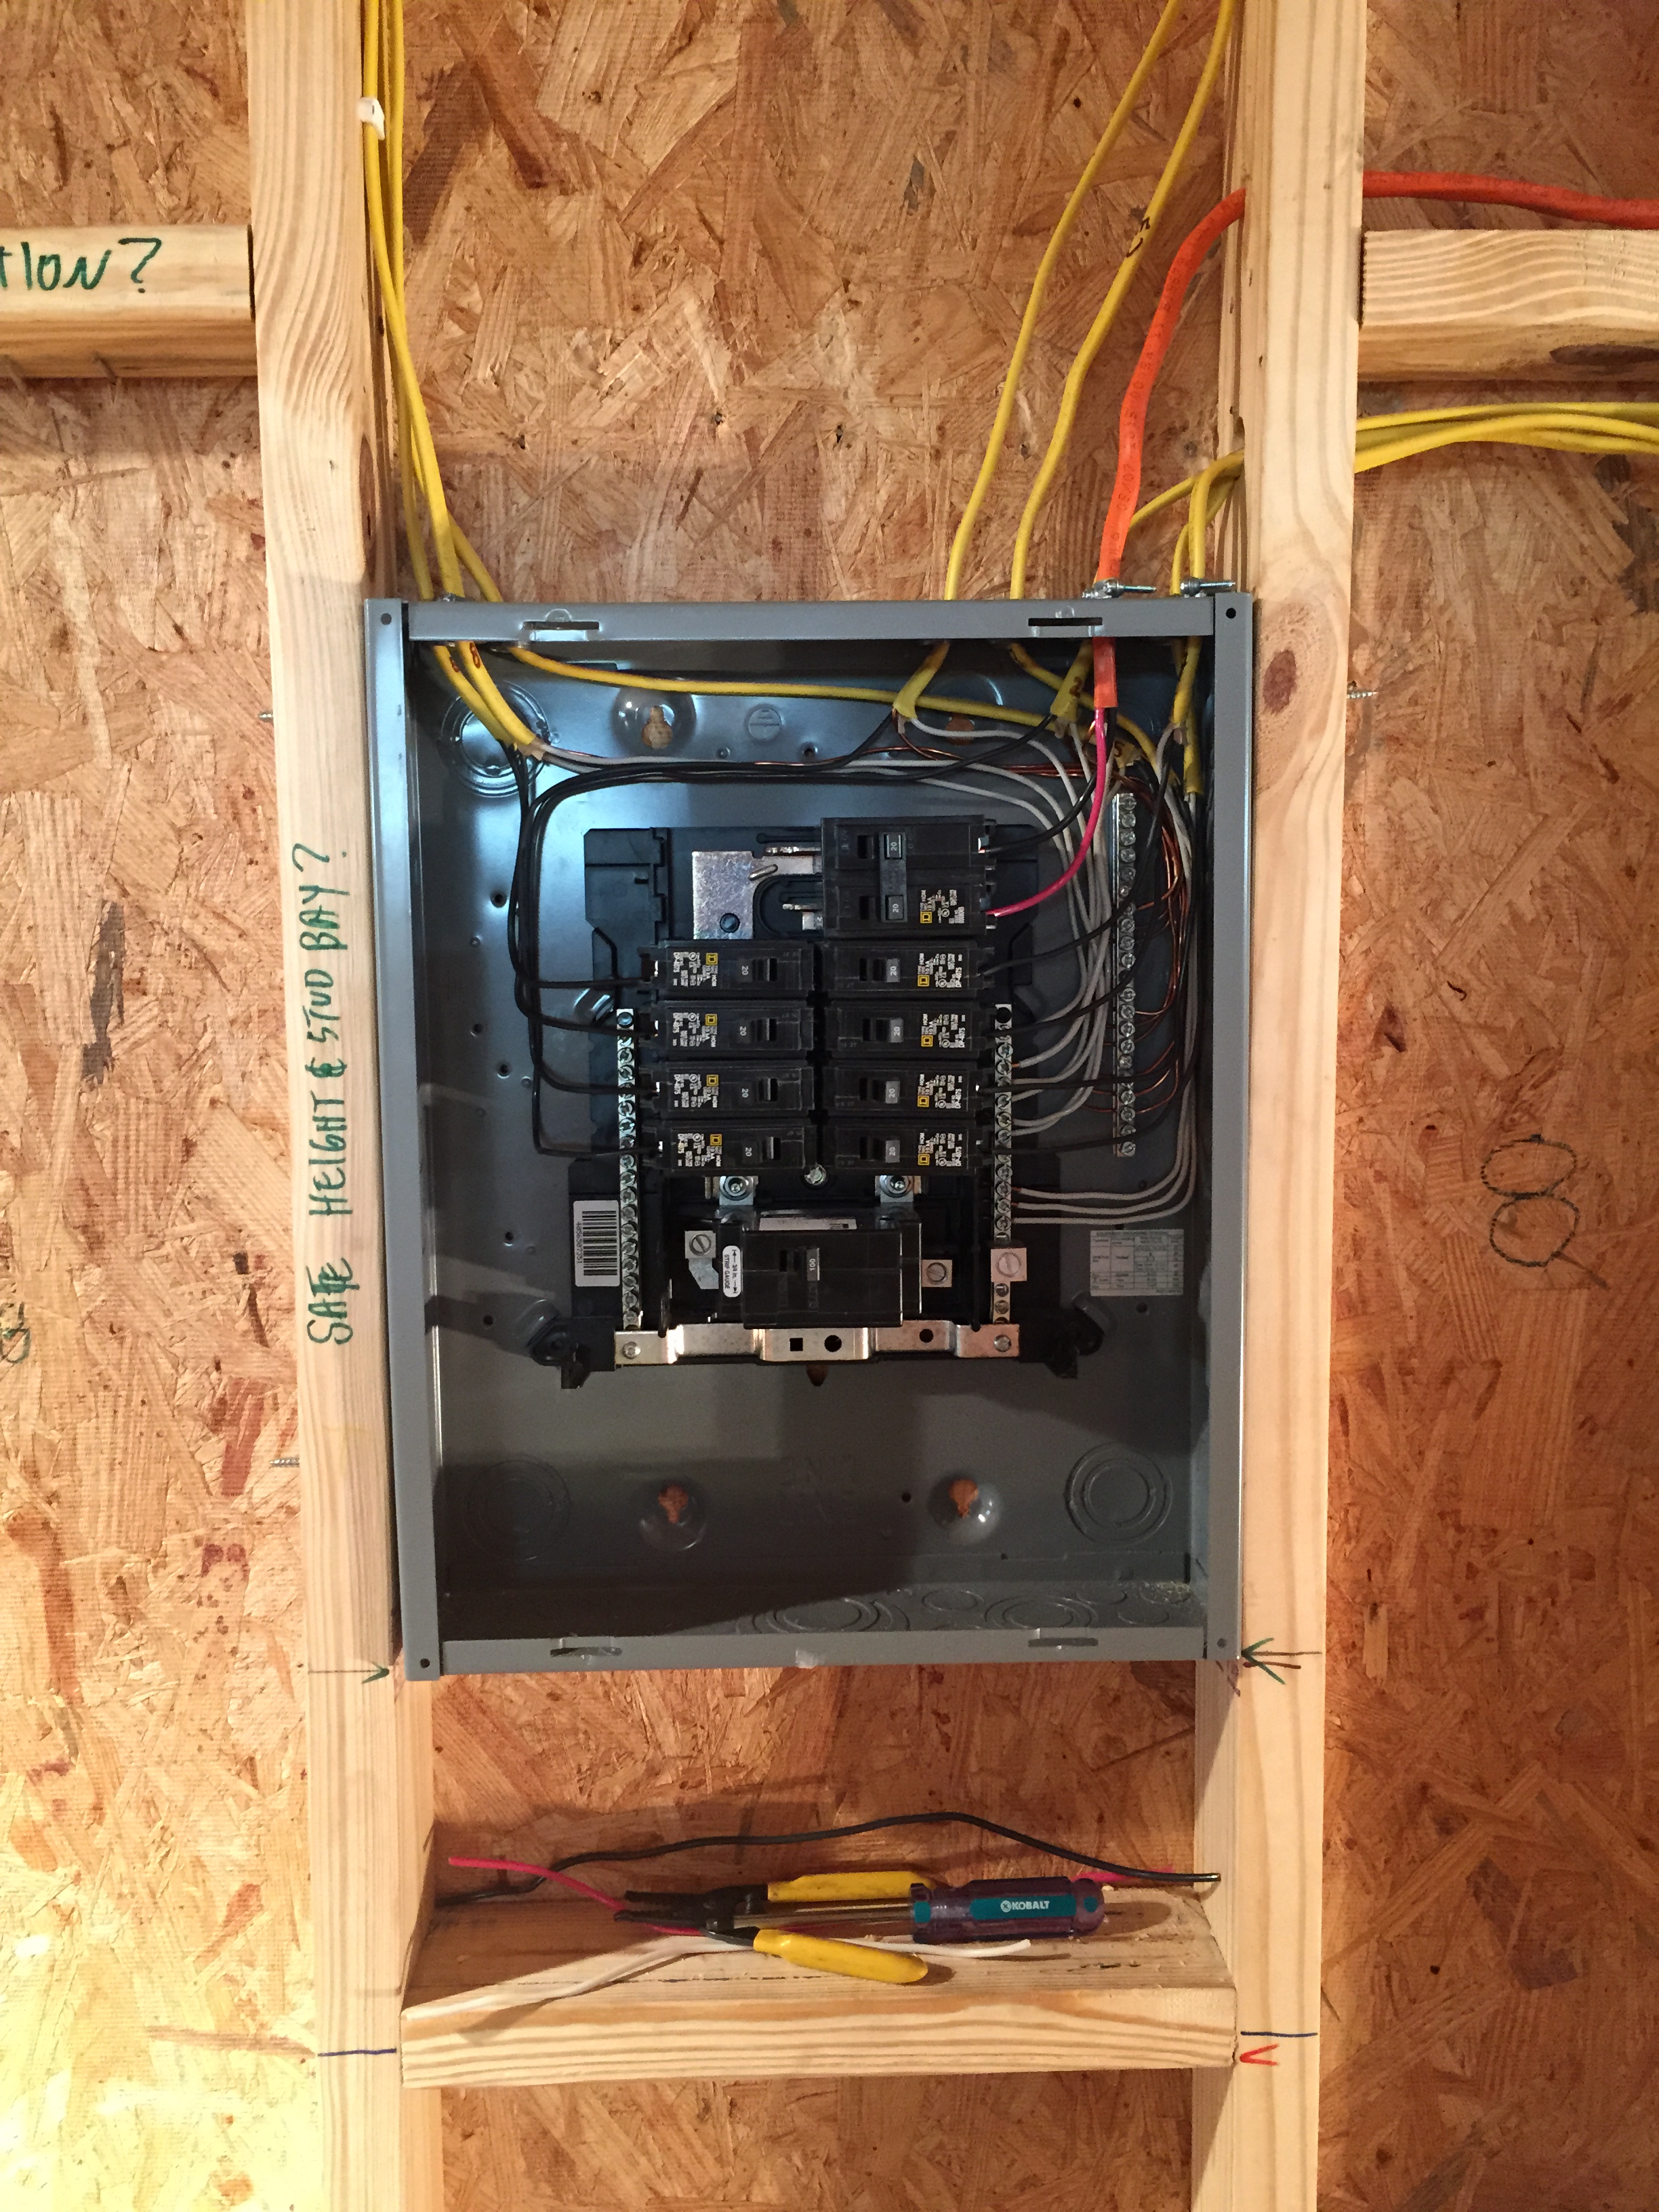
- From here, we were able to size the panel because we knew how much the house would pull - we went with 12 breaker, 100 amp panel which gave us plenty of circuits and plenty of amperage.
- We then correlated each of the circuits mentioned above to a breaker on the panel. Keep in mind that it is suggested that all GFCI outlets are to be placed on the same circuit. All outlets within 4' of a water source are to be GFCI and all exterior outlets are to be GFCI.
- We also mounted some Low Voltage boxes in the wall and ran Cat6 cable (from computer station to TV, from TV to modem spot). We will also be running in-wall HDMI to successfully install Apple TV and other systems. Our TV is wall mounted, so this has to be done.
- Then, we watched lots of YouTube videos and installed everything :). Scary, we know.

Electrical Materials Info:
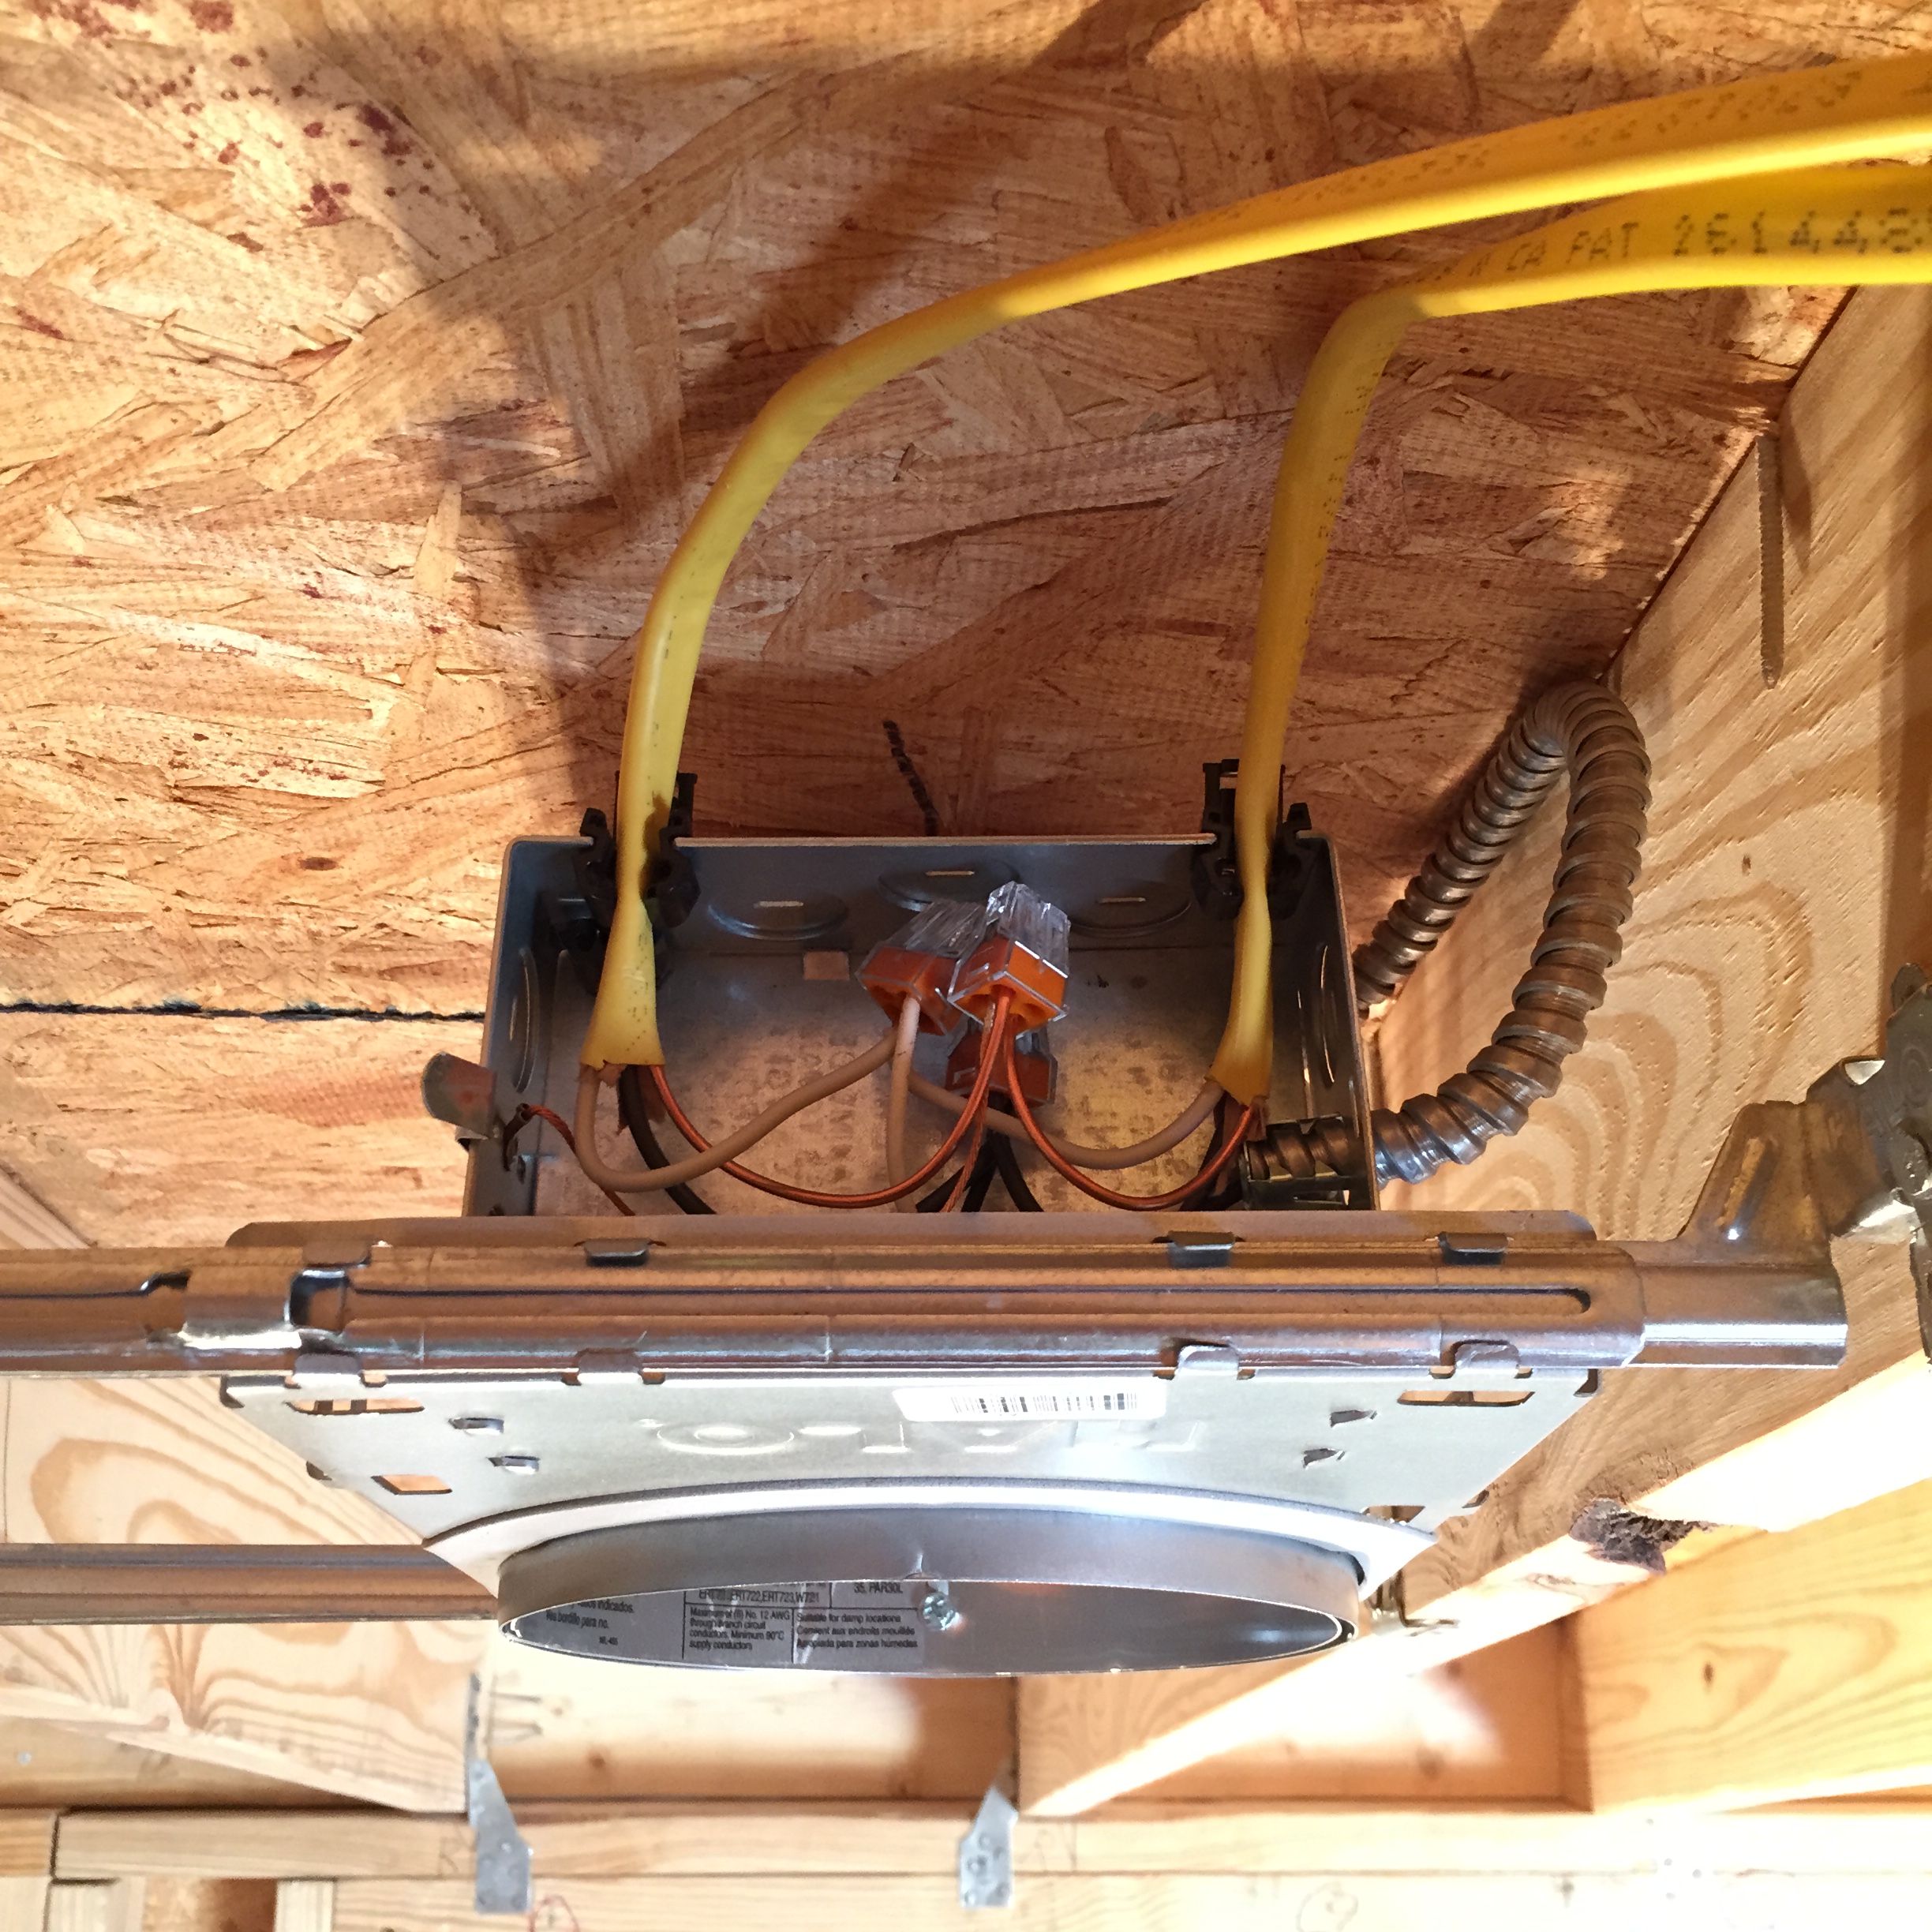
- We used a combo of single, double, and triple gang PVC boxes for switches, outlets, etc.
- We used 20 amp circuit breakers.
- The majority of the wire that we pulled was 12/3 romex with the exception of our AC/Heater split system unit. This required 10/3 romex. Here, the first number is the gauge and the second number is how many wires. For example, 3 is a hot wire, neutral wire, and a ground wire located in the bundle.
- The majority of our light fixtures are recessed canned lights. You can find these at Lowe's/Home Depot (6" housings).
- As mentioned above, Low Voltage boxes, Cat6, and HDMI were run.
- The tool that we used the most was a simple $12 wire cutter/stripper.
You may ask.. where is the MECHANICAL? No mechanical work because we are installing a split system (heats and cools the house). The split system that we have chosen (also based on some advice from our buddies over at @californiatinyhouse or www.californiatinyhouse.com) is an 18,000 BTU Pioneer unit that is streamline/looks nice from the inside and has a fairly thin compressor that will live outside on the neck of our trailer.
Ultimately, the service that comes into the house will be a 50 amp RV hookup, but our panel is technically 100amps (as we oversized just to be cautious!). Eventually, we want to switch to solar panels, but we will make this move when we are stable and the tiny house has a home.
We started exterior siding back at the end of August and have completed all the siding up that we can. We have had a little holdup with our doors and can't 100% finish exterior install until the doors are installed.
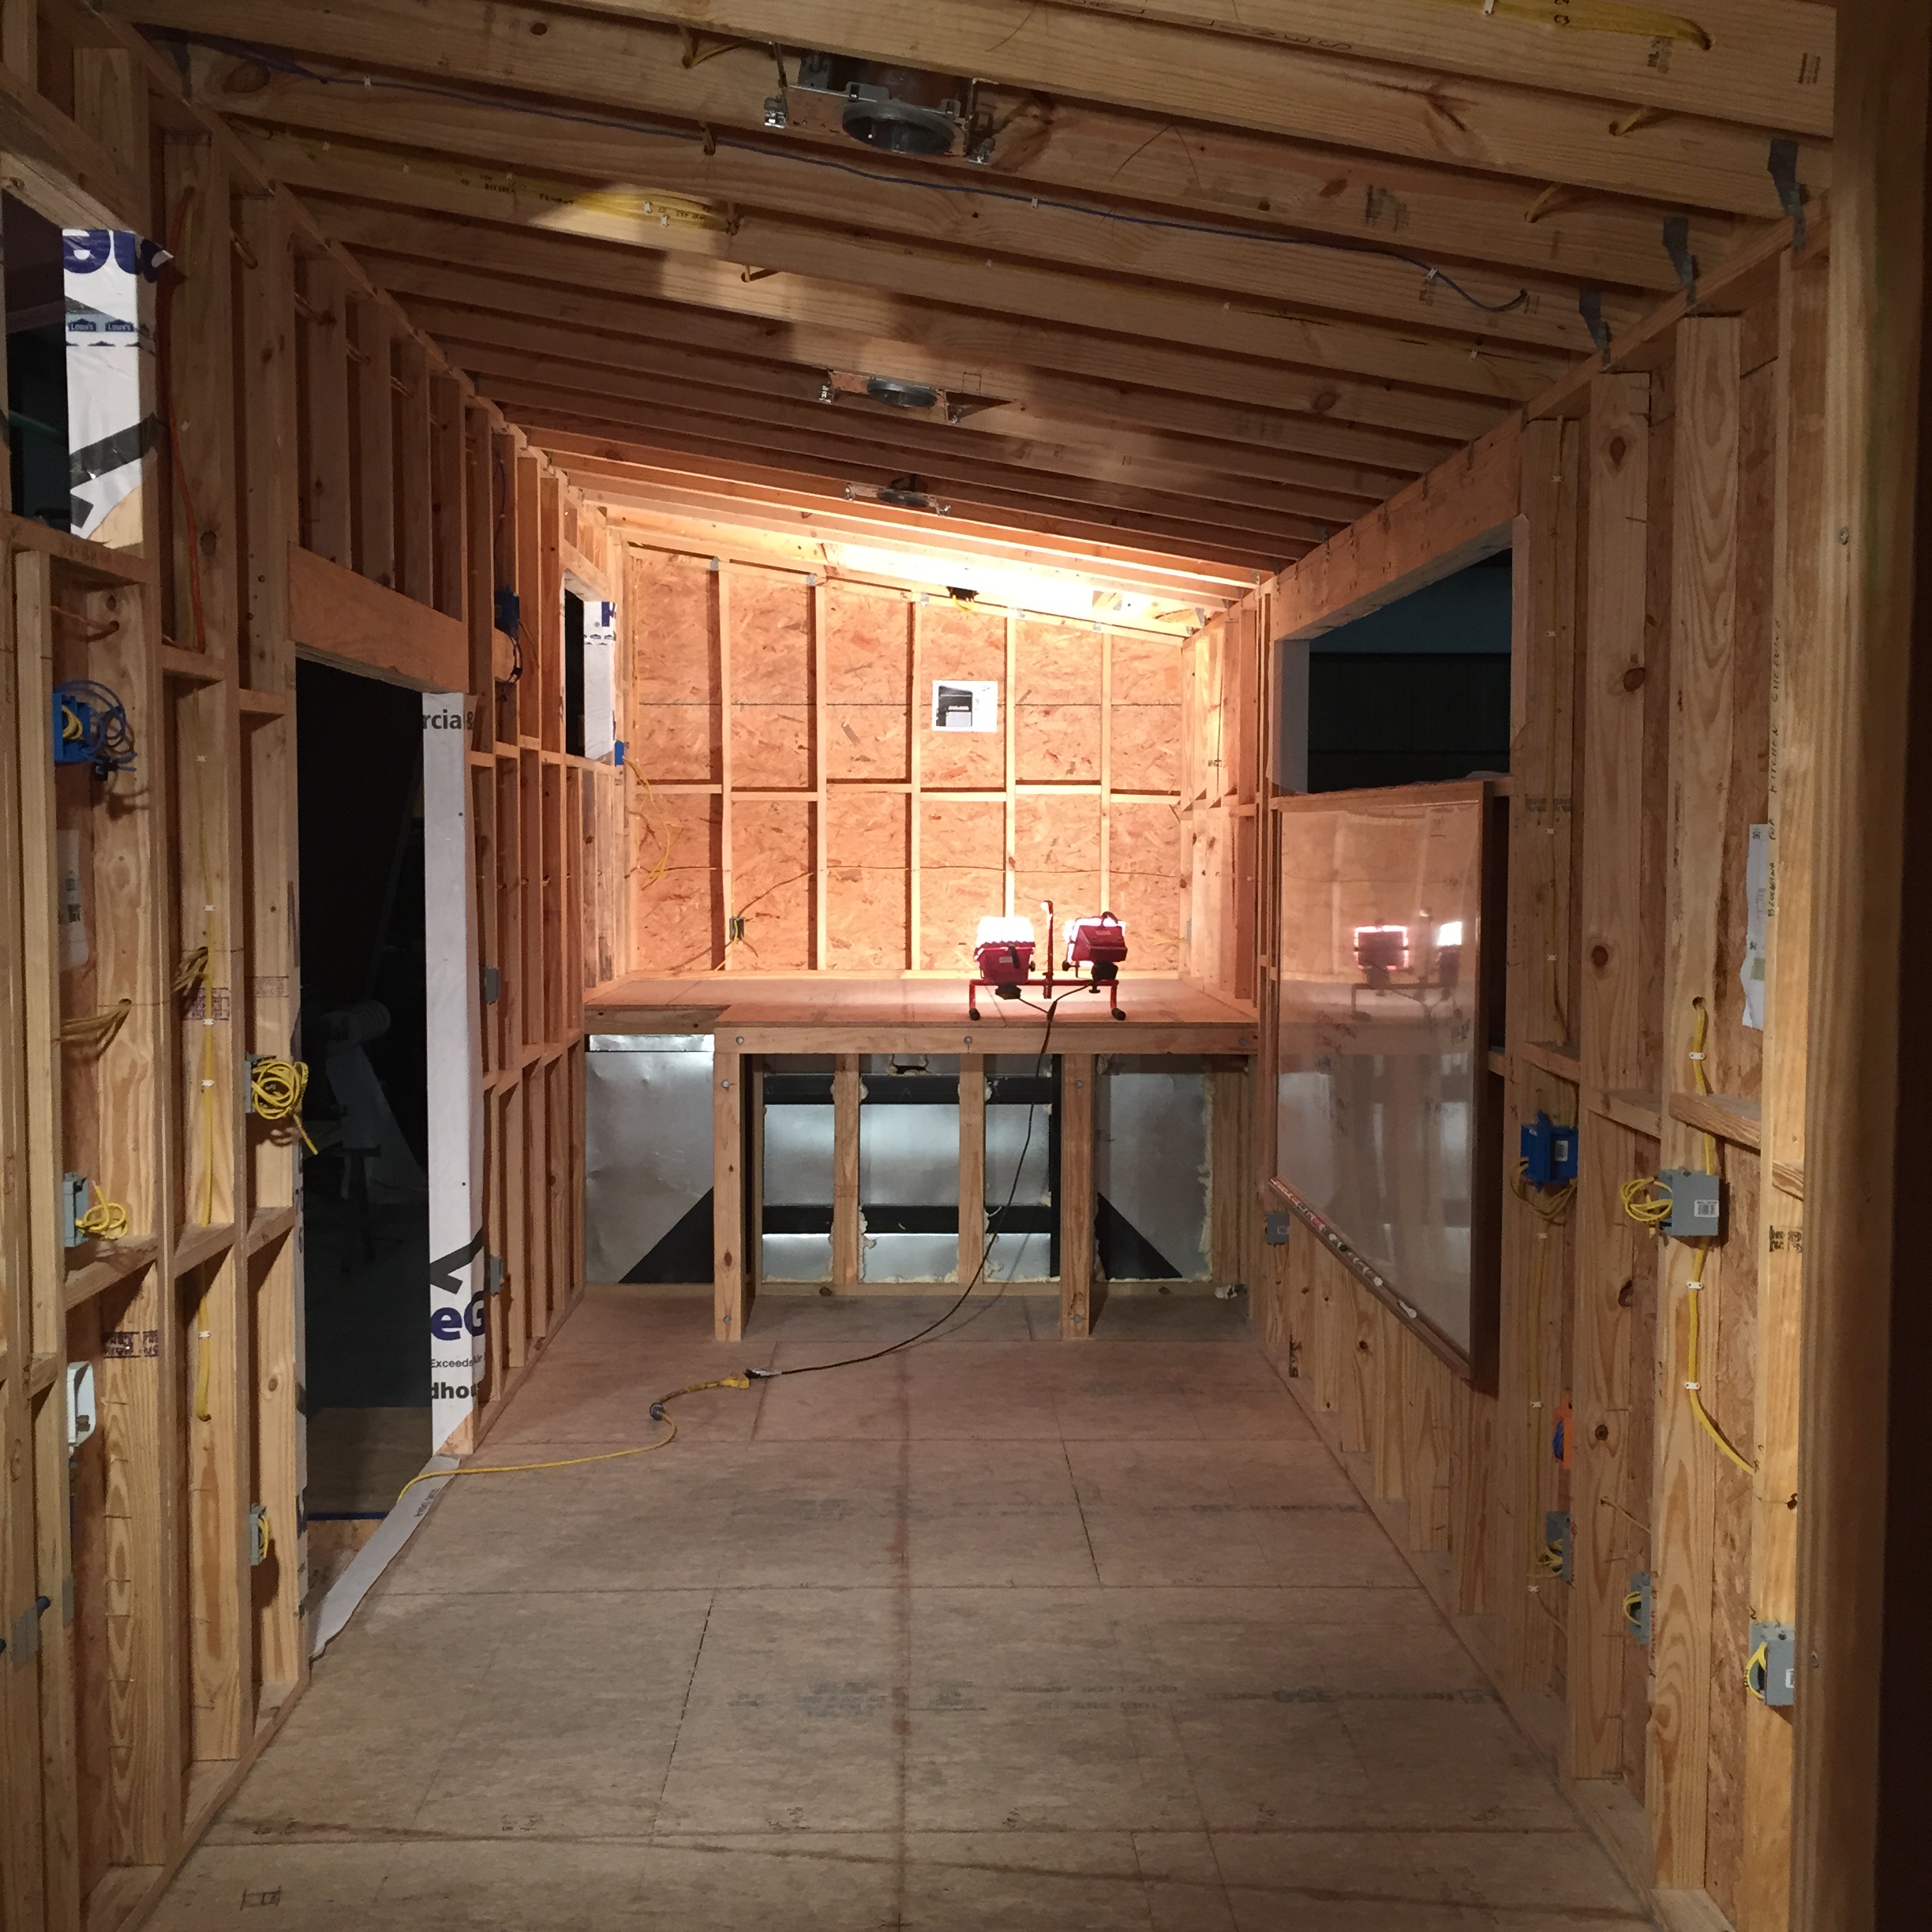
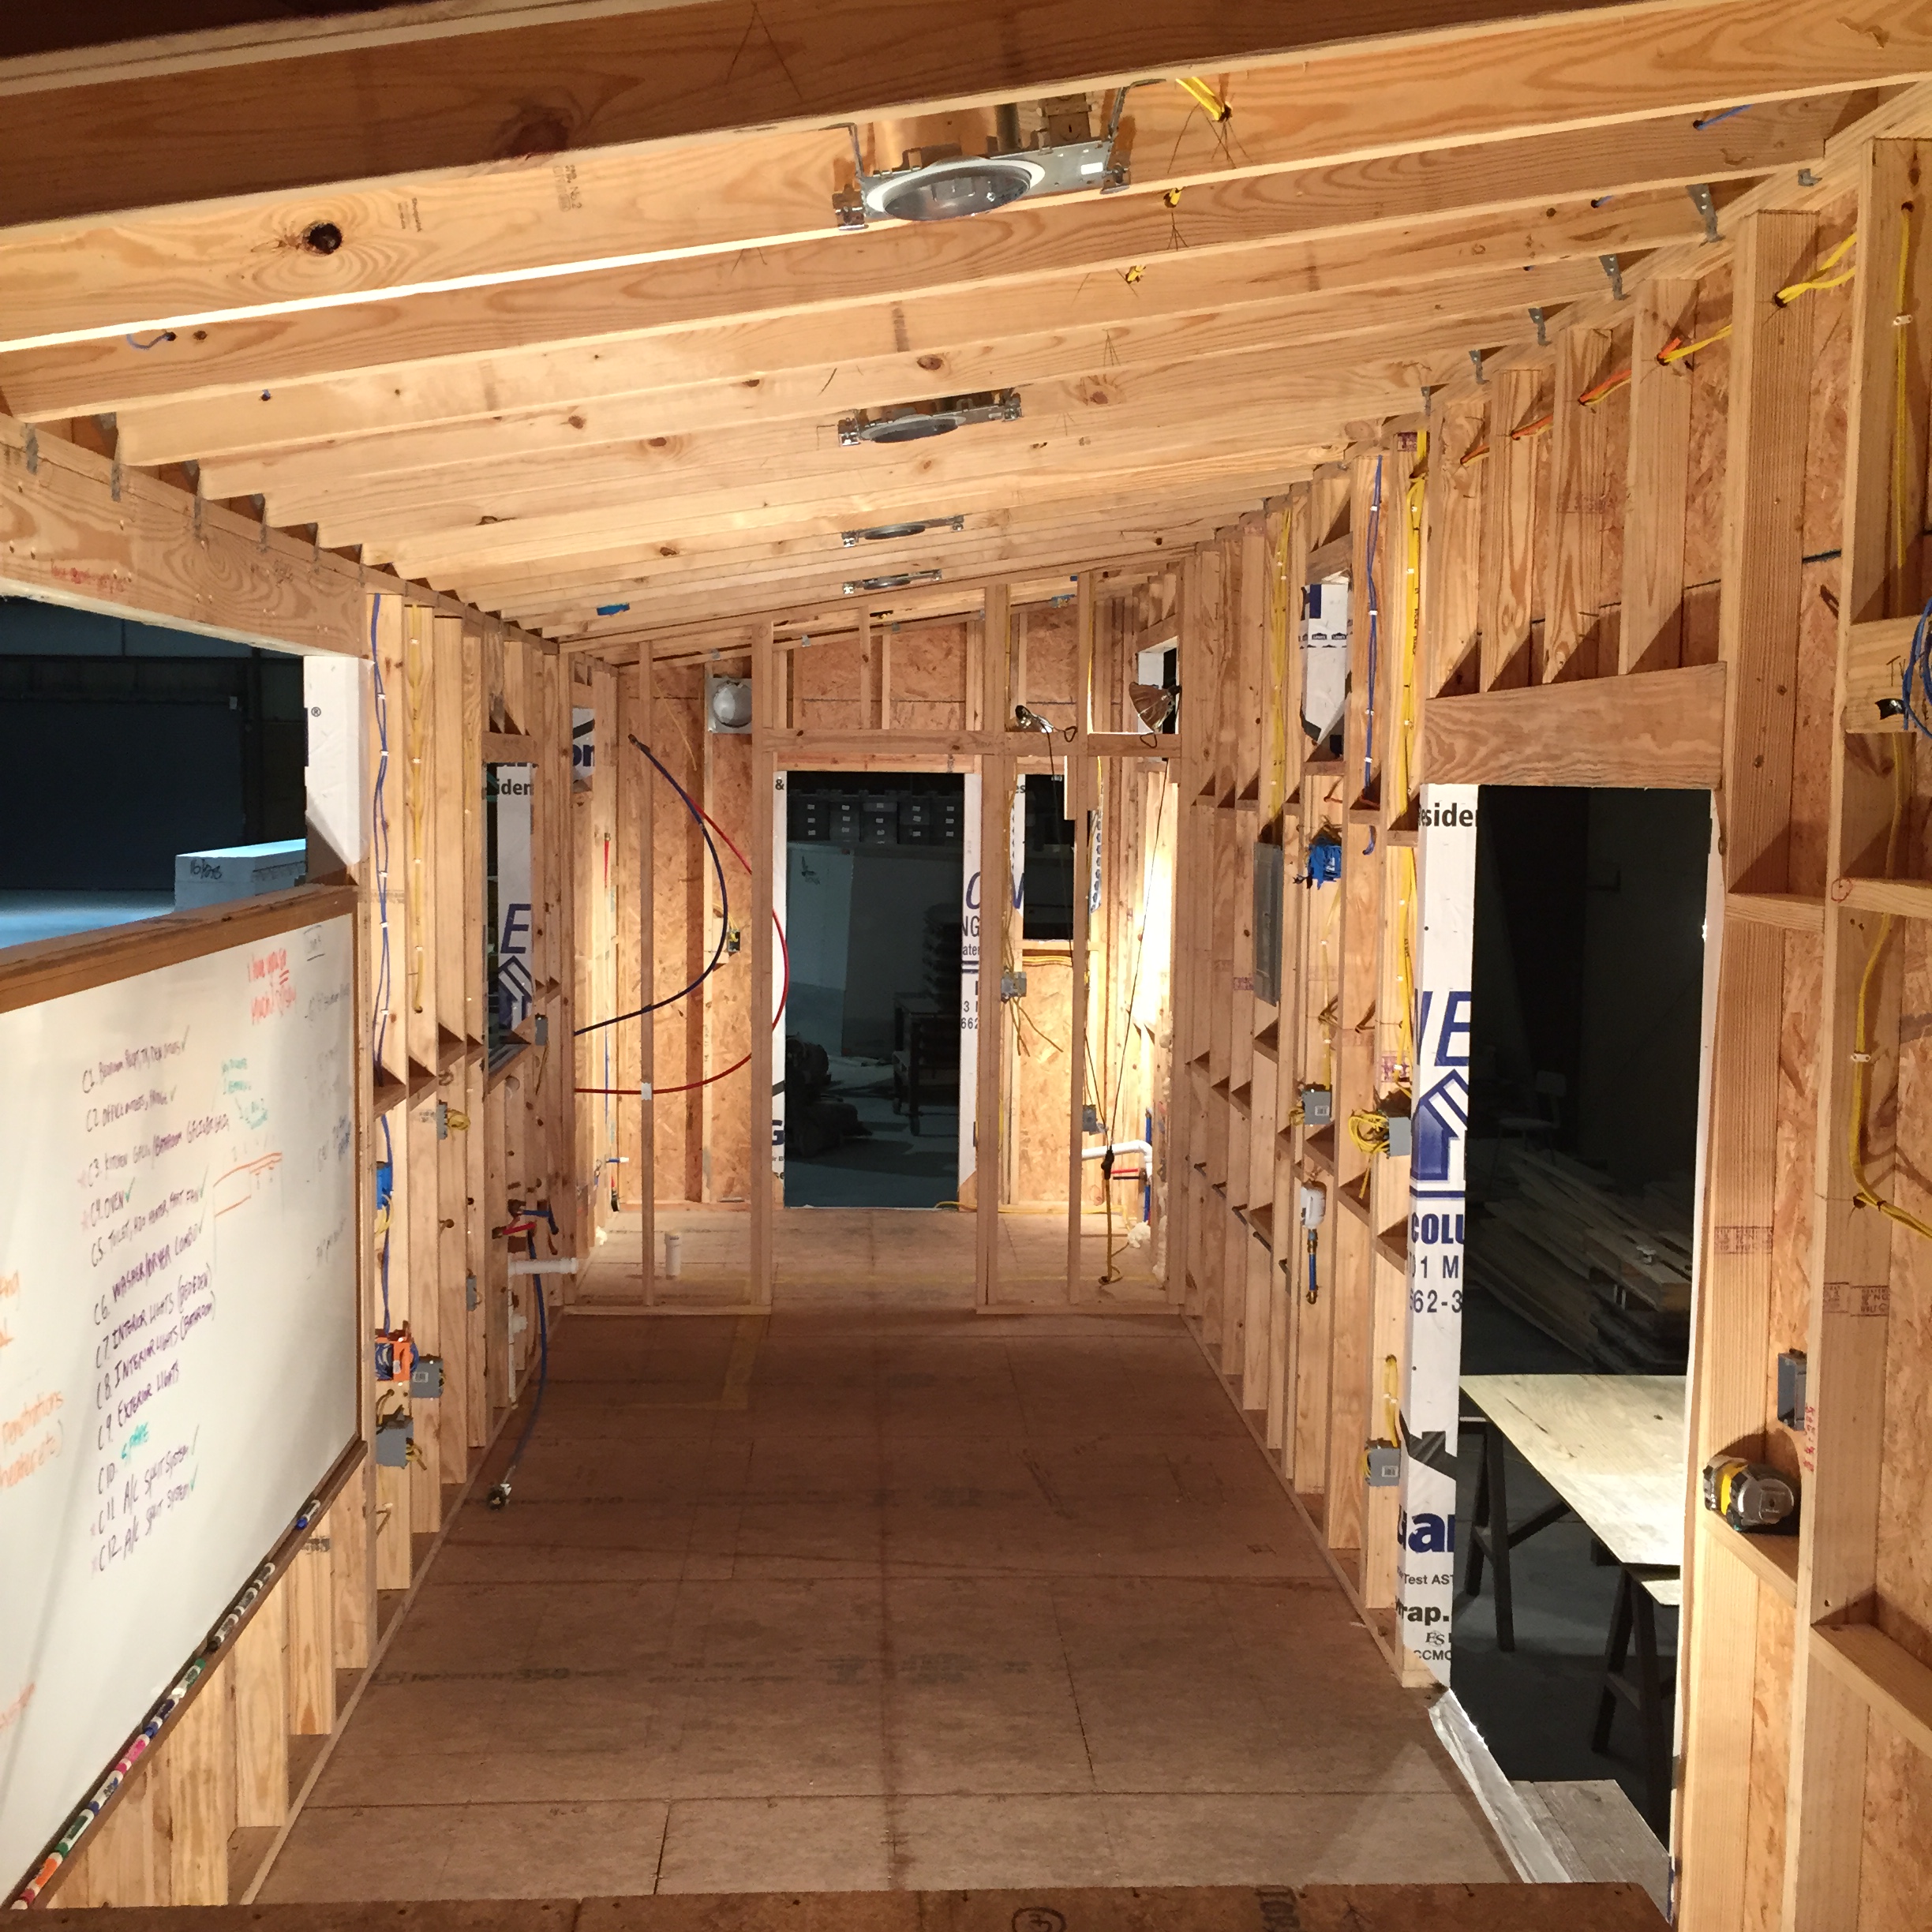
PROGRESS PHOTOS!

Next post: Exterior siding + roof install + interior spray foam insulation!
UNTIL NEXT TIME,
-BRIAN & SKY
PS: If you haven't, check out our Instagram. We post pictures very regularly, but between multiple jobs + building a house, it's hard to find time to sit down and write posts on regular basis! Thank you all for your continued love and support!!